Forman’s Smoked Salmon Carving Knife and Kit
Nothing beats the taste of freshly carved smoked salmon. But carving it yourself requires skill, patience – and the right tools! Our carving kit includes everything you need to…
View moreNeed help placing an order?
Give us a call on 020 3601 5464
-
Description
Nothing beats the taste of freshly carved smoked salmon. But carving it yourself requires skill, patience – and the right tools!
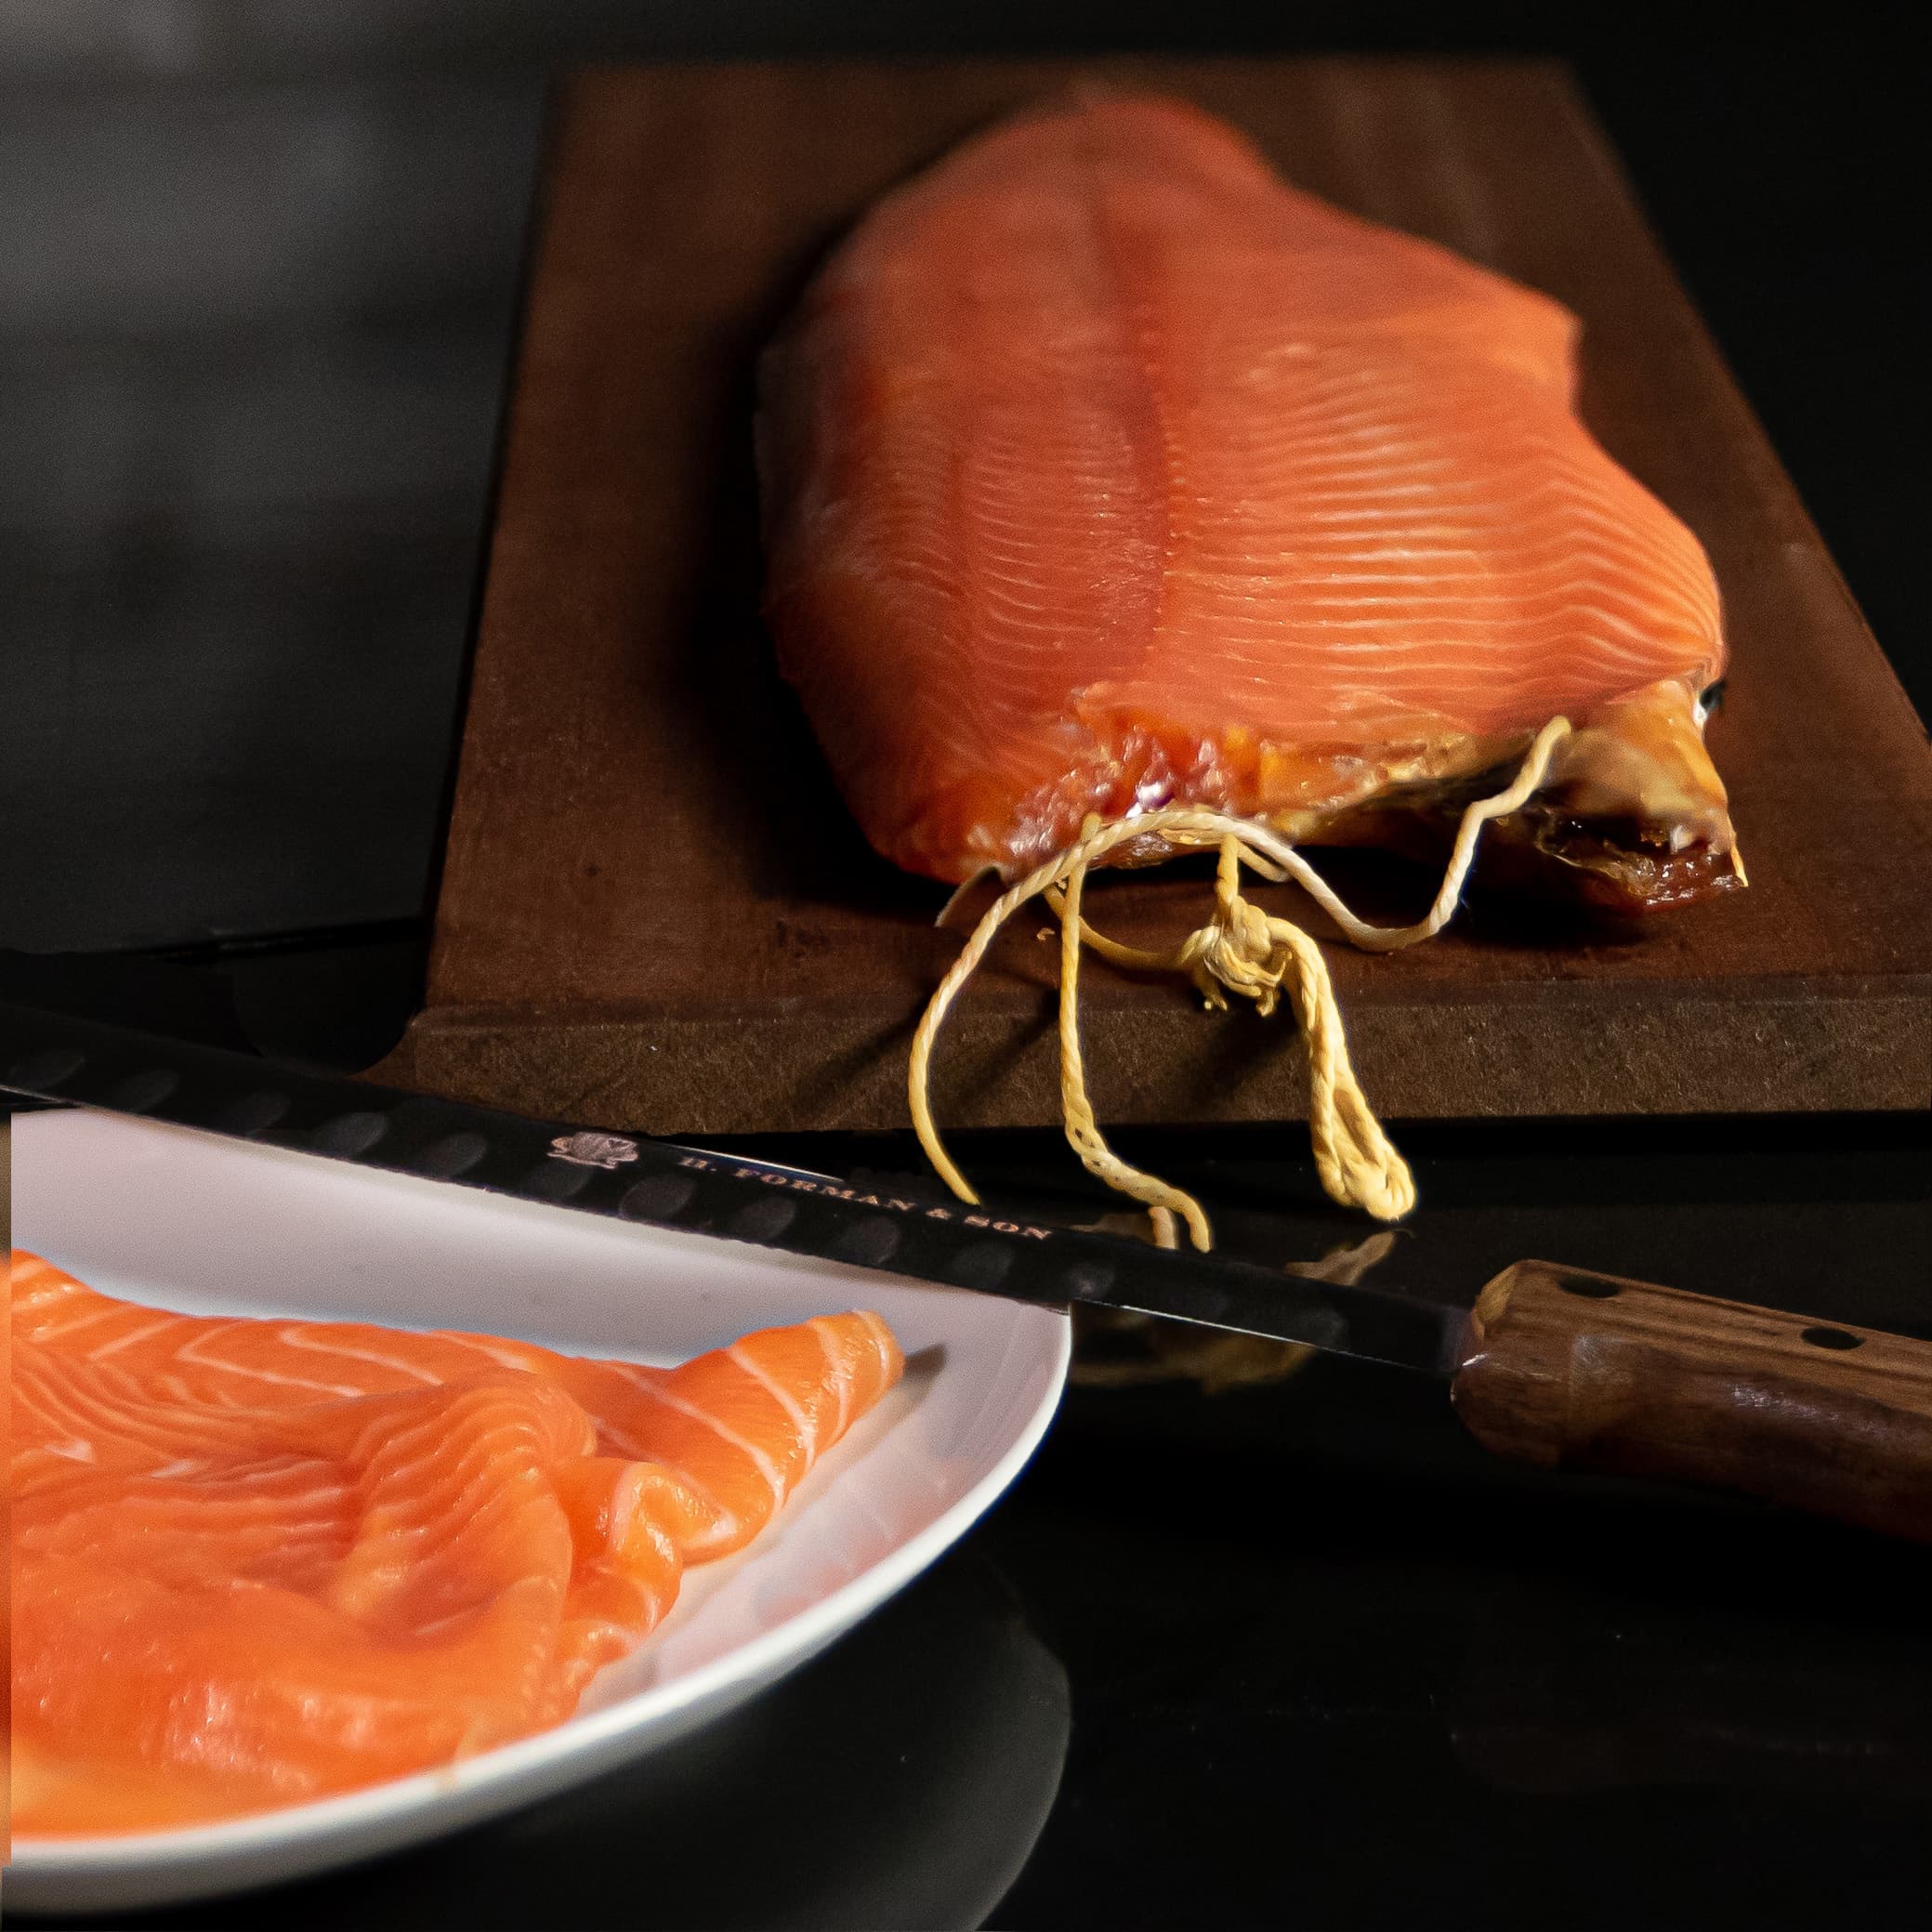
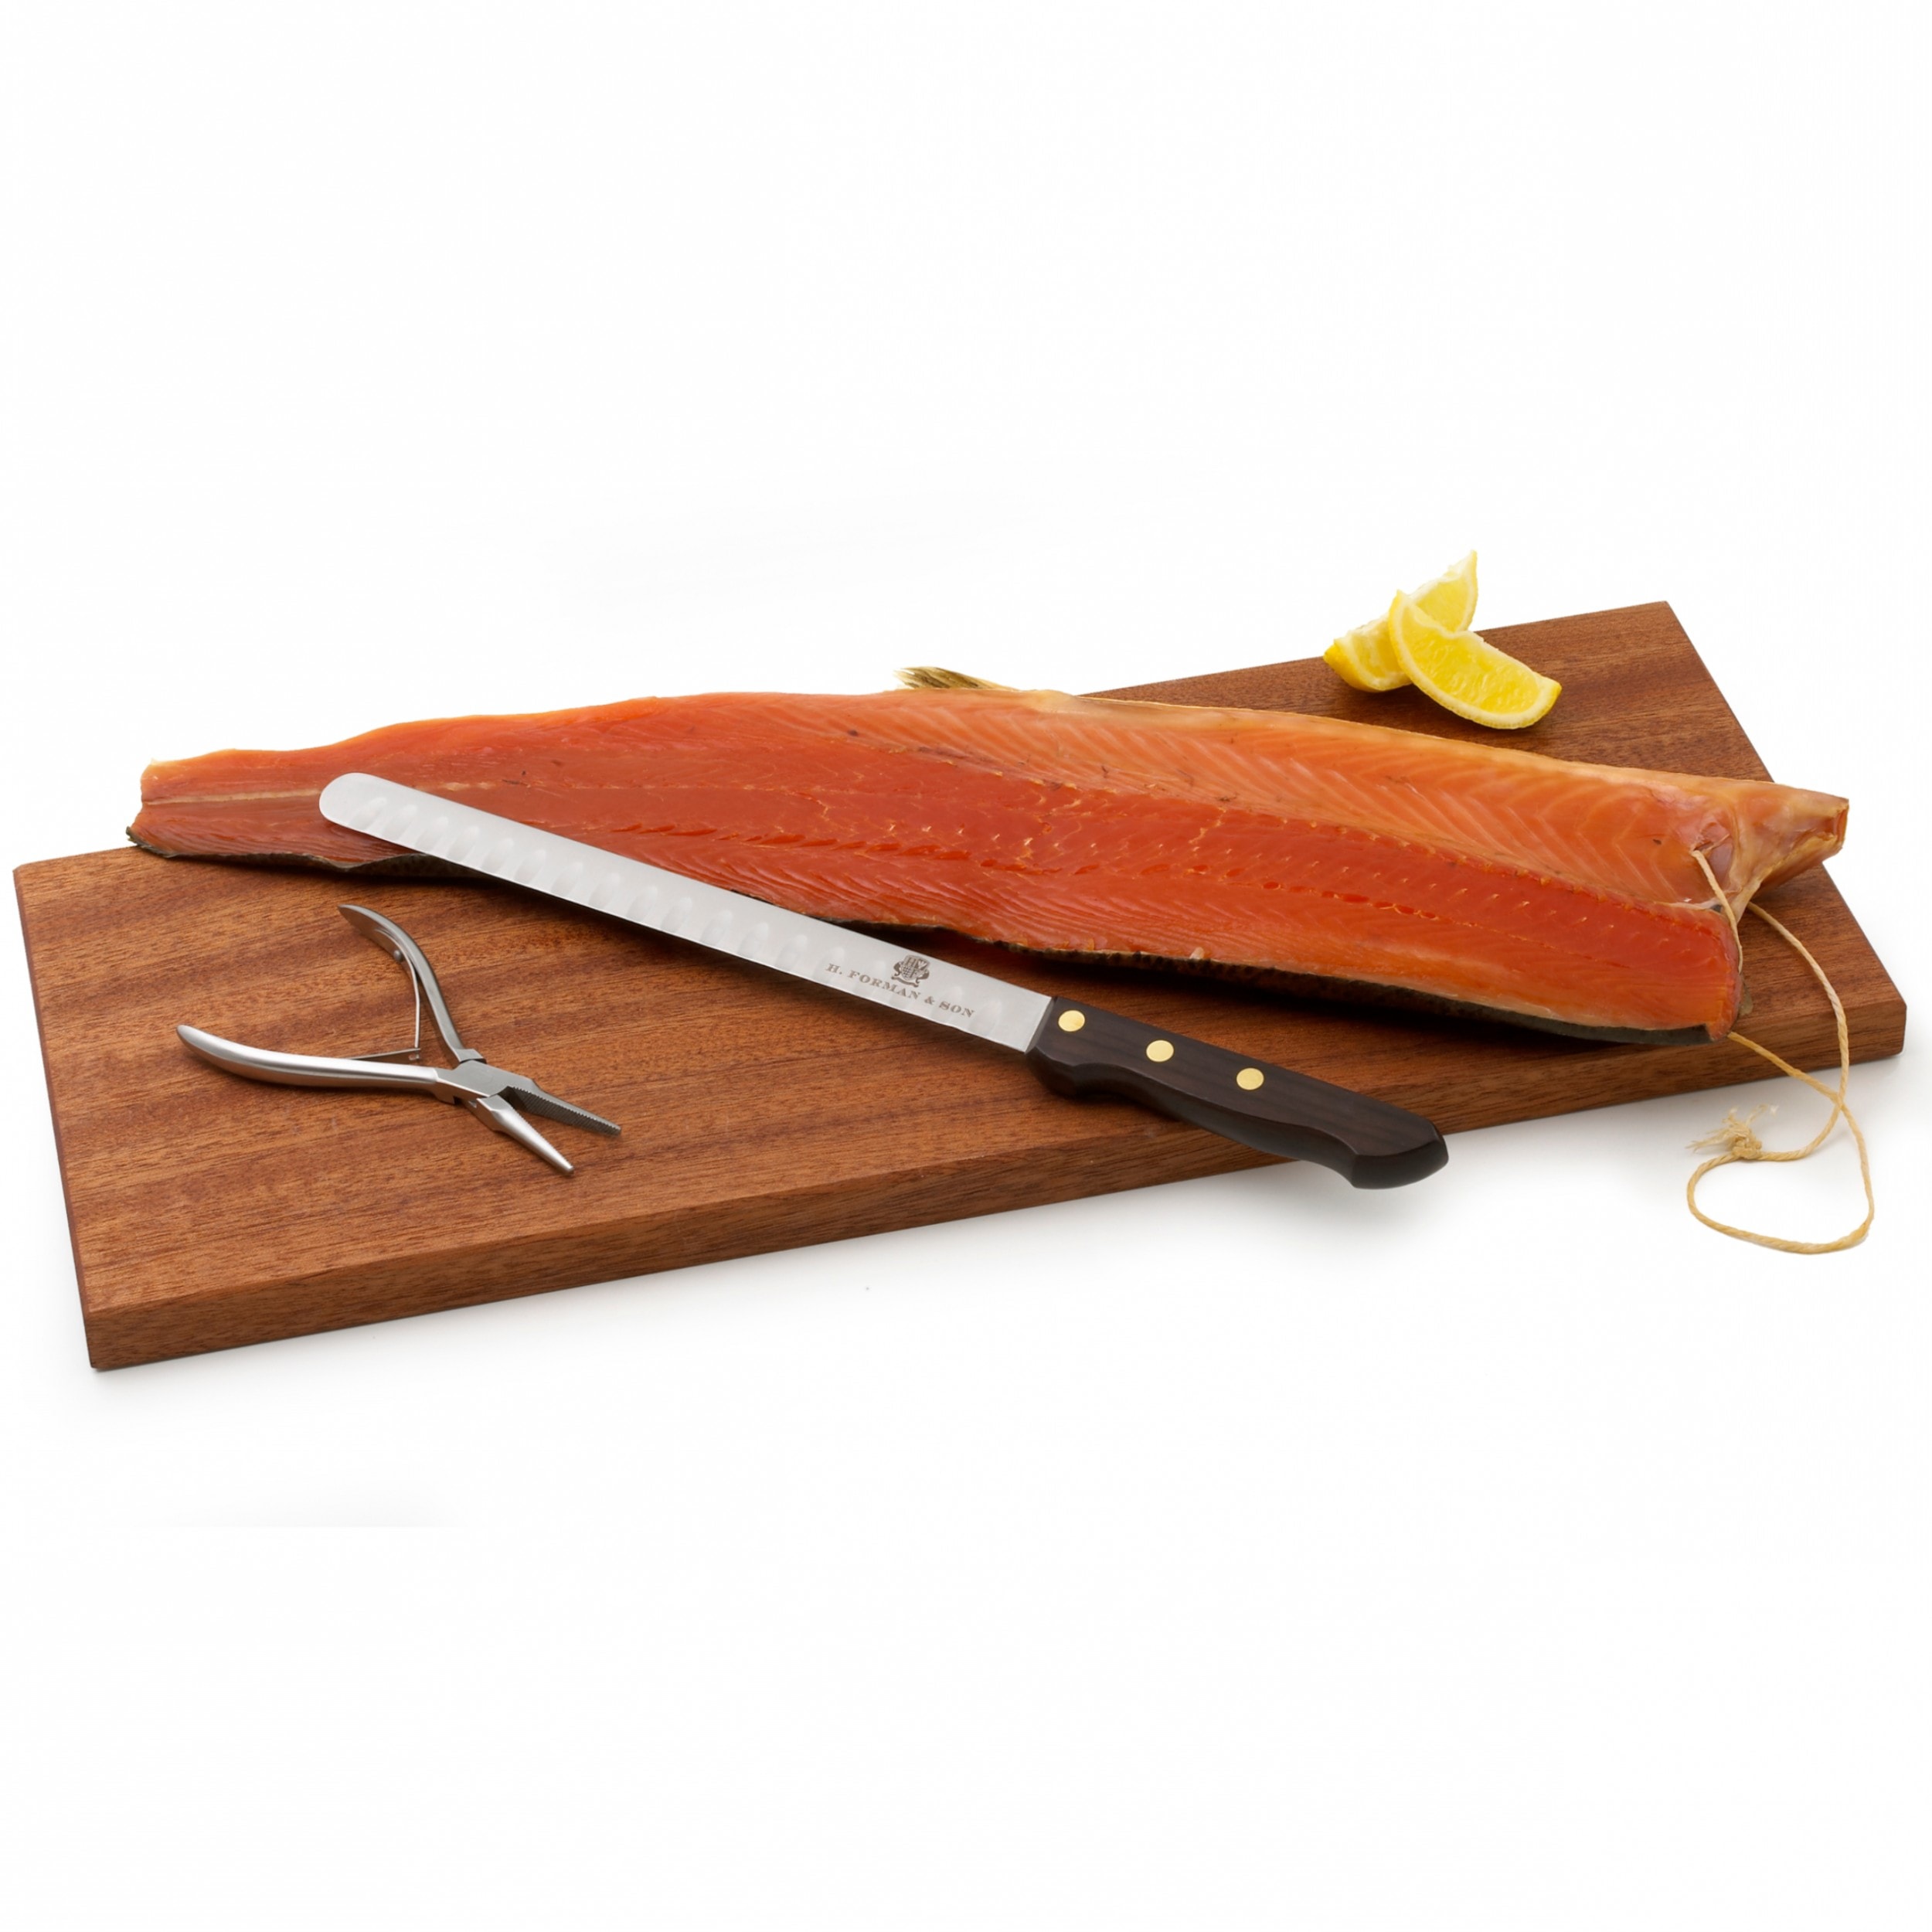
Our carving kit includes everything you need to carve an Untrimmed Side of Smoked Salmon: a specialist smoked salmon knife with a rosewood handle, tweezers to remove those tiny pin bones, and a beautiful sapele hardwood board to make your task easier.
The rosewood-handled knife is the same we use in the smokehouse, and is available to purchase separately.
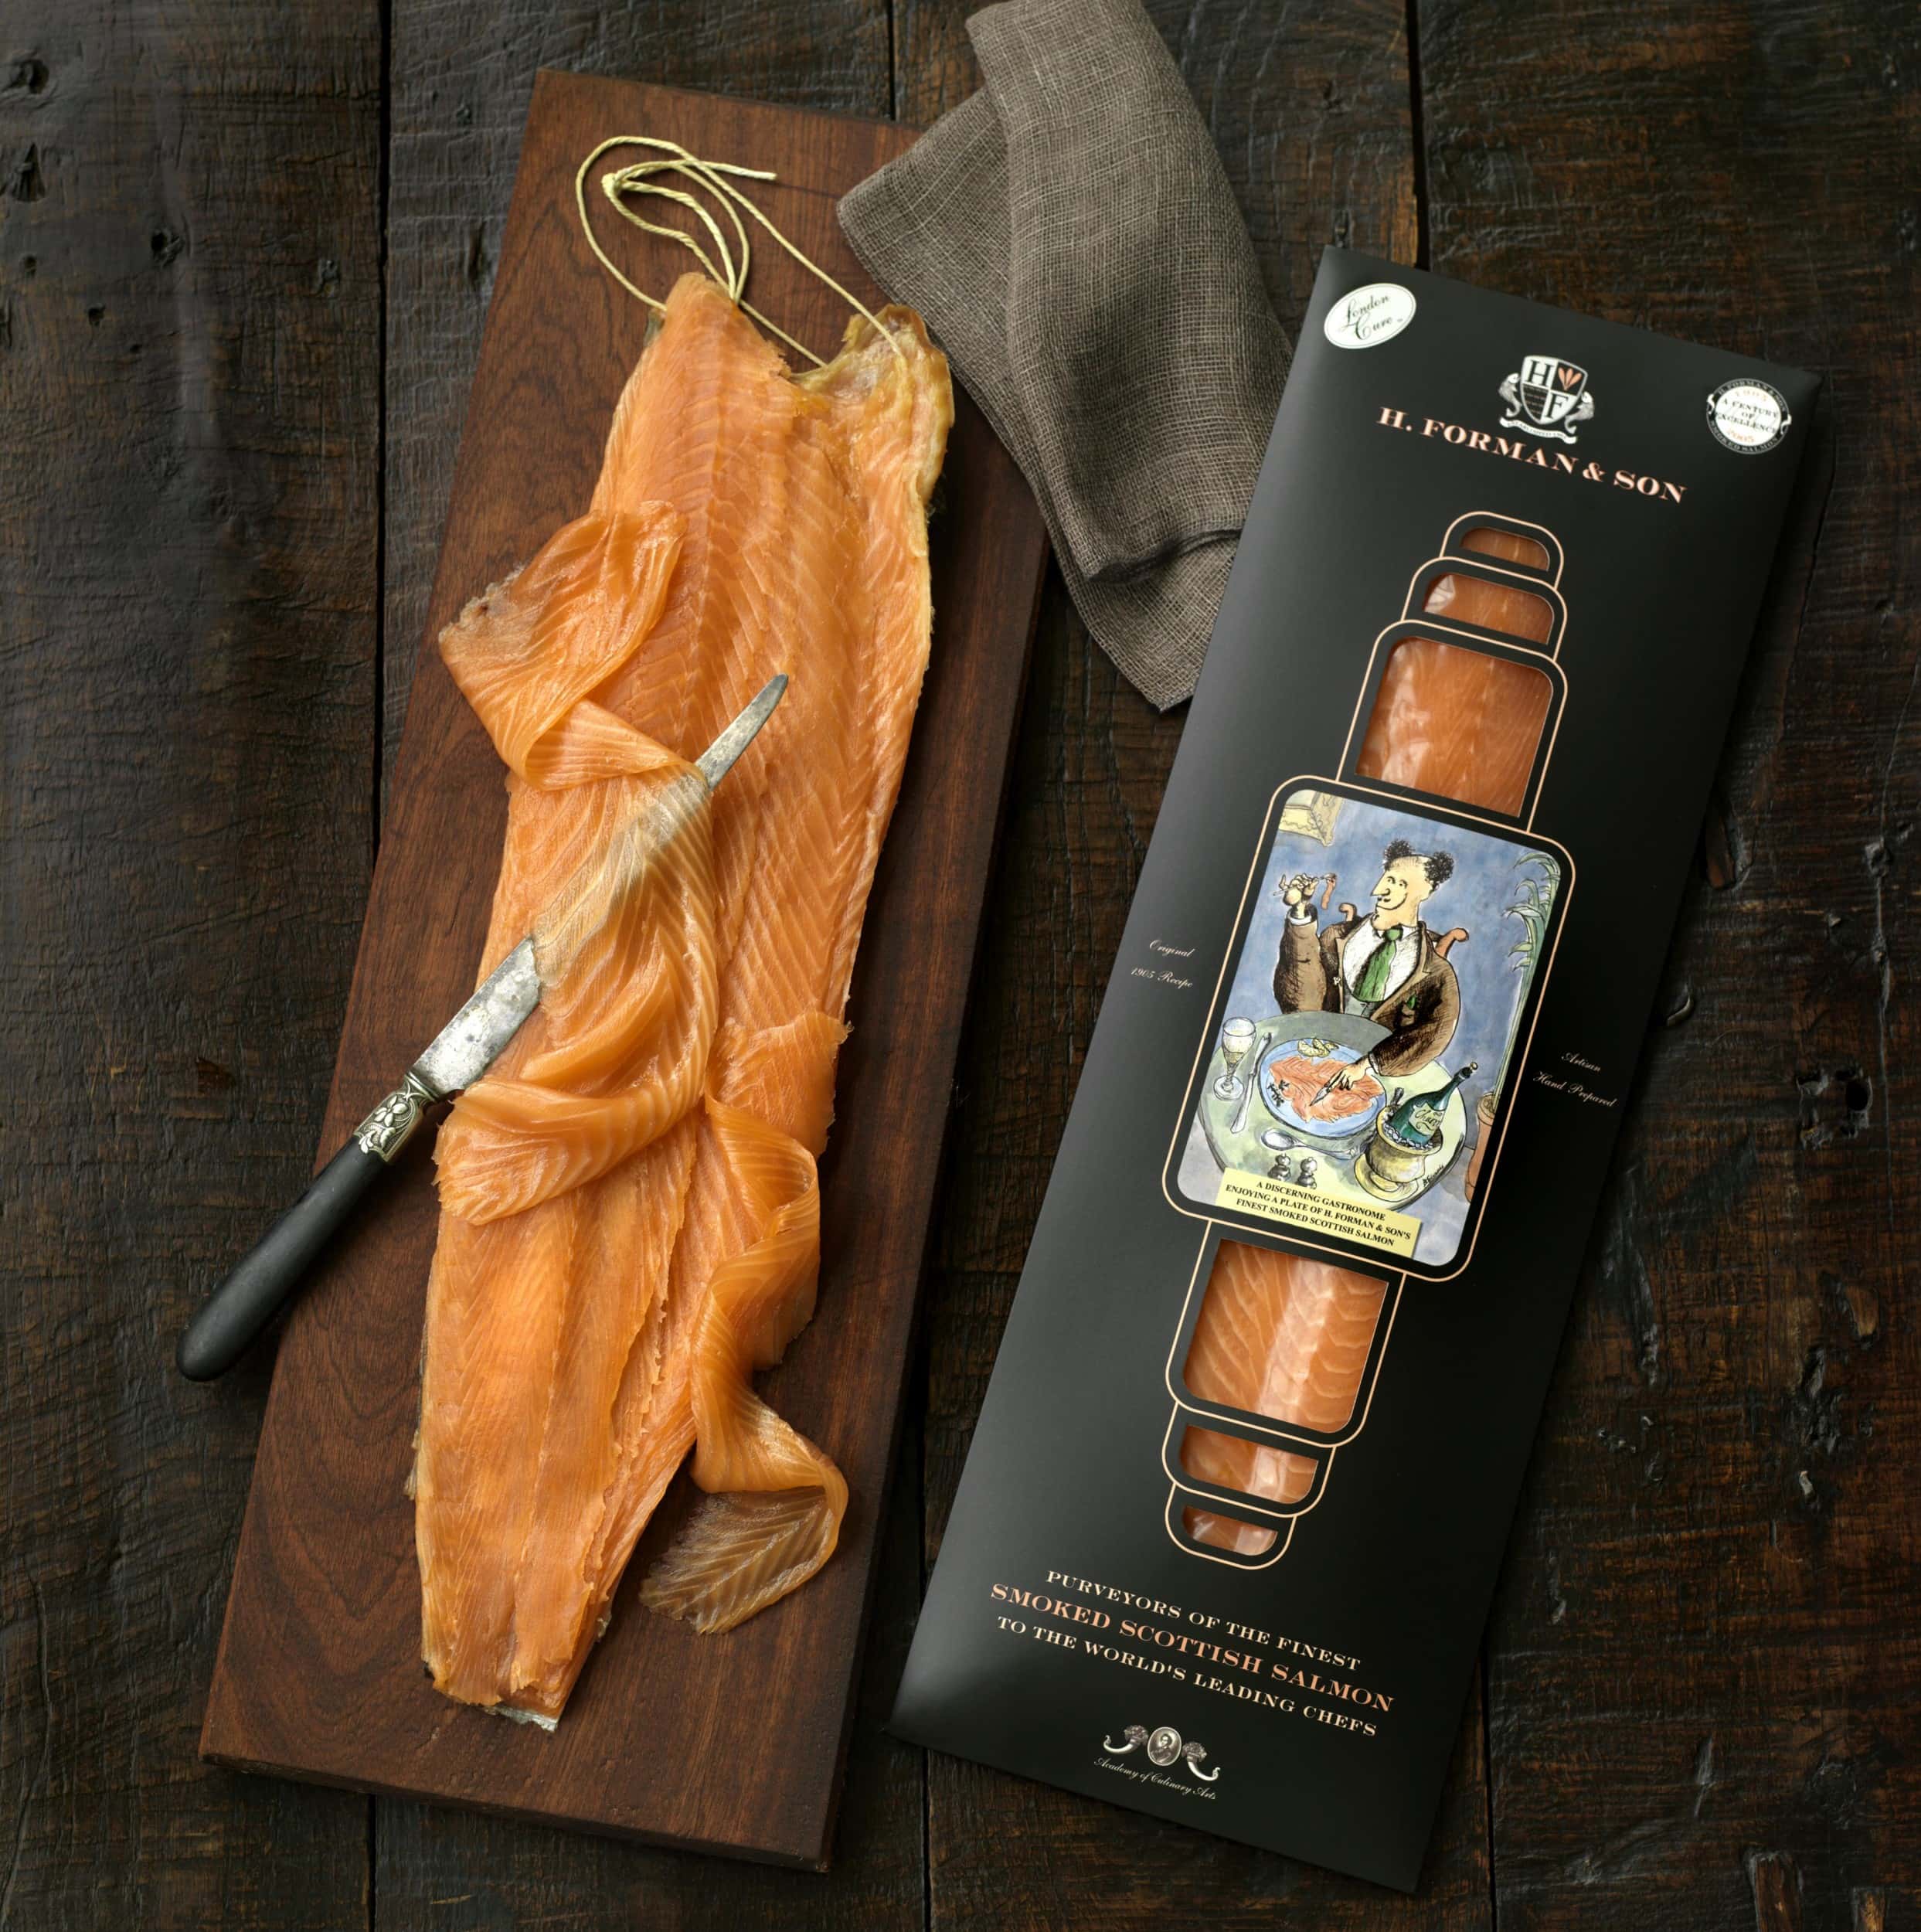
A thoughtful and memorable gift for a foodie friend. Why not include a side of smoked salmon so that they can get started straightaway?!
* Please note that smoked salmon is NOT included with the carving kit. You can add a Trimmed Side or an Untrimmed Side to your order, if you wish.
Watch a video of a day in the life of our smokery below
If you want to learn how to carve a side of salmon, why not book a Masterclass with our Guinness World Record holder Darren? You’ll receive the complete kit as well as the side of salmon that you carve during the lesson, too! A fantastic, unique gift for any smoked salmon lover.
-
Cooking instructions
How to carve a Whole, Untrimmed Side of Smoked Salmon: 1. Gripping the fin under the collar bone with one hand, cut off the fin and bone and discard. 2. From the top down to the tail, trim along both edges of the salmon, working around the fin. 3. Guide the smoked salmon knife tightly under the rib cage and remove all the bones. 4. Trim all the outer layer from the tail to the head. 5. Run your fingers along the middle of the fish to feel for the pin bones, remove them using pliers, pulling in the direction they protrude to prevent breakage. 6. Slice the salmon laterally using a smooth sawing action from head to tail, ensuring the knife is very sharp for thinner slices. Cooks’ notes: The outer layer trimmings from Step 4 are perfect blitzed for use in pates.

